Declutter with Habitat ReStore: A simple spring cleaning checklist
More than 70 percent of Americans take part in some form of spring cleaning every year, according to the American Cleaning Institute. The benefits of this annual tradition are easy to see: a clean home is a healthier home. It also provides a great time to take stock of the things you need and those you don’t.

Though spring cleaning is often most associated with bleach and glass cleaner, scrubbing and dusting, many also use the time to declutter their homes of items they no longer use. While the task can seem overwhelming, a room by room spring cleaning checklist can make the decluttering process much more manageable.
This checklist is designed to help you break your decluttering process into bite size chunks. Completing each room before moving on to the next will give you a motivating sense of accomplishment at multiple stages during the decluttering process.
The three box method
The three box method is a great way to organize your decluttering process. As you go from room to room, take three boxes or large containers labeled “Donate,” “Keep” and “Trash/Recycle.” For larger items, place sticky notes labeled with the same three categories.
Removing all items in every room and sorting them into boxes also presents a fantastic time to tackle a thorough deep clean of your house. There are some great spring cleaning checklists for these tasks, as well!
Benefit your community

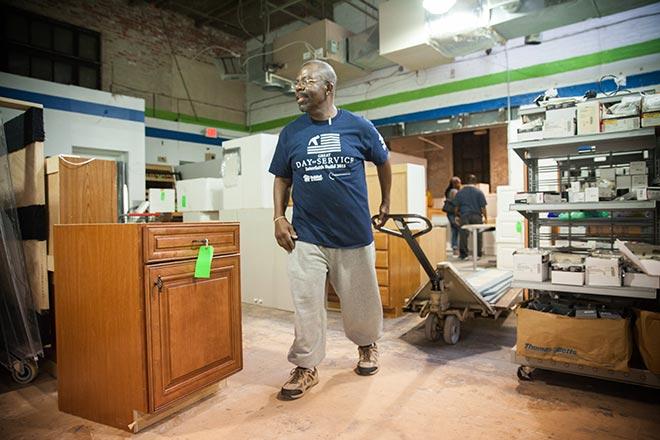
In addition to providing you with a clean and organized home, we see indirect benefits of spring cleaning at Habitat for Humanity ReStores every day from those boxes marked “Donate.” When those donated items are sold, someone in your community gets to give your item a second life for a great price. An even further benefit is that the proceeds from the sale go towards helping a family build affordable, decent housing.
We’ve also provided a partial list of items commonly accepted at Habitat ReStores for each room to help you know what items from your home can be donated to the ReStore. Keep in mind that each ReStore has different inventory and acceptance guidelines; contact your local ReStore to find out if they can accept the items you have available.
Print out an abbreviated version of the Declutter spring cleaning checklist PDF to take with you from room to room.
Declutter: A simple spring cleaning checklist for every room
Rooms
Bedroom
The American Cleaning Institute finds that the bedroom is the most commonly prioritized room for spring cleaning, so it seems like a great place to start.
Surfaces
Examine items on all flat surfaces – the tops of dressers and nightstands, for example – and make sure they all are something you use regularly.
Closet
Take a close look at your clothes and shoes. A good rule of thumb is that if you haven’t worn it in a year, you probably won’t wear it again. The closet hanger experiment is a great way to examine how often you wear each item.
Under the bed
You never know what’s accumulated under there – and it’s time to find out!
Bedroom items accepted by most Habitat ReStores
- Beds
- Dressers
- Nightstands
Kitchen
Cabinets
Perform a thorough cabinet sweep. Match containers and lids. Take stock of the dishes you need (and those you don’t). Remove expired items and be sure to check that all spices are fresh.
Refrigerator
Clean out any old or unused items in the fridge and the freezer.
Drawers
Is the infamous “junk drawer” located in the kitchen of your house? If so, take out all items to assess what you really need.
Kitchen items accepted by most Habitat ReStores
- Sinks
- Refrigerators
- Other appliances
Living room
Entertainment center
Sort through Blu Rays, DVDs and CDs and donate any you no longer watch or want. Recycle any empty cases you find.
Drawers
Go through any drawers to remove trash and other unneeded items.
Shelves
Organize all shelves, getting rid of any unneeded items.
Living room items accepted by most Habitat ReStores
- Furniture
- Antiques
- Rugs
- Bookcases
Garage/basement/shed
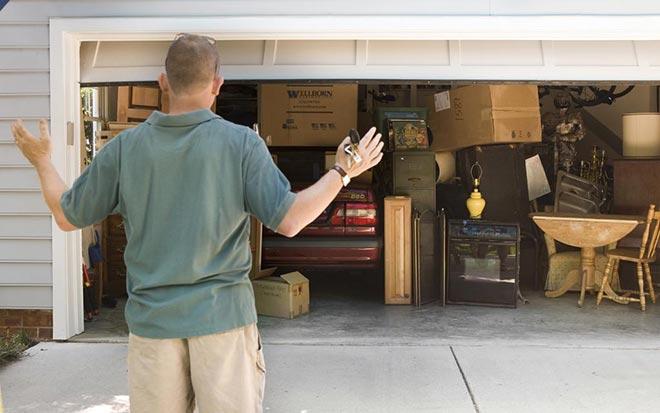
Everyone’s garage or basement or shed is different, and we’ve put them all together because what we are really referring to is the place in or around the house where extra stuff tends to pile up. This can be a closet, a finished basement, an outdoor shed or any place in between.
Donation piles
These spaces can seem overwhelming, so start with the easiest of all: donation piles. You’ve spent all year collecting items you need to donate, and it’s finally time to load them up and take them to the various donation centers around town.
Categories
Divide everything left into categories and go through each category one by one. Tools, building materials, cleaning supplies, whatever it may be. Check for duplicates and get rid of anything that’s broken – throw away if necessary but donate or recycle if possible!
Reorganize
For everything that you are keeping, organize by the same categories to help keep them organized year-round.
Other items accepted by most Habitat ReStores
- Bricks
- Pavers
- Doors
- Lumber
- Windows
- Paint
- Tools
- Light fixtures
- Building materials
